Easy Way to Select Next Photo in Lightroom Library View
Here are my favorite shortcuts for selecting and navigating images in Grid, Loupe, Compare, Survey and People view in Lightroom Classic.
Moving Between Views in the Library Module — to quickly move between views, use the following shortcuts:
• Tap "G" for Grid, "E" for Loupe, "C" for Compare, and "N" for Survey. Note: these shortcuts work across modules!
![]()
• Double-click an image thumbnail in Grid view to go to Loupe view and vice versa ( double click an image in Loupe view to return to Grid view).
• Tap the Spacebar to go from Grid view to Loupe View. Note: Tapping the Spacebar again will zoom in, so use one of the other shortcuts (such as tapping "G") to return to Grid view as needed.
Decreasing/increasing Grid Thumbnail size — Use the Thumbnails slider in the Tool bar or, tap the "-" (minus) and "+" (plus) keys to decrease/increase the image thumbnail size in Grid view. Click here for more information about Customizing View Options in Lightroom Classic
Moving from One Image to the Next —Use the arrow keys to move up/down/left/right in the Grid view.
• Use the left/right arrow keys to move to the previous/next image in Loupe view. Note: the left/right arrows also work in Full Screen (Tap the "F" key or select Window > Screen Mode > Full Screen Preview).
Moving Images to Folders/Collections — Click -drag the thumbnail of the images to move photographs between folders, add to collections etc. (not the outer gray "slide mount" area).
Mastering the Mysterious Multi-select in Lightroom — In this video ( reveals essential shortcuts and little known features that will make navigating the grid view in Lightroom far more efficient.
Selecting and Deselecting Images — There are a number of ways to select multiple images including:
• Command + A (Mac) | Control + A (Win) selects all images.
Command + D (Mac) | Control + D (Win) deselects all images.
• To select a range of images, click the first image, then Shift -click on the last image.
Command -click (Mac) Control -click (Win) to select discontiguous images.
• Select Edit > Invert Selection quickly inverts the selection of images.
• With multiple images selected:
"/" (forward slash) deselects the active photo.
Command + Shift + D (Mac) | Control + Shift + D (Win) selects only the active photo (while deselecting any other photos).
Clicking outside of the image thumbnail (in the gray "slide mount" area) deselects all selected images excluding the one clicked upon.
• This video (Viewing and Selecting Images) will demonstrate the shortcuts above and more!
Making Changes to Selected Images — By default, when multiple files are selected in the Library module, making changes to files in the Grid view will change all selected images. When viewing images in Loupe view, only the "most selected" image will be changed (the one that is being viewed). To change all selected images while in Loupe view, Command + Option + Shift + A (Mac) | Control + Alt + Shift + A (Win) toggles on Auto Sync (don't forget to toggle Auto Sync off when finished).
Selecting Based on Flagged Status — To quickly select images based on flag status (reject/unflagged/flagged) use the following shortcuts:
• Command + Option + A (Mac) | Control + Alt + A (Win) selects all Flagged photos.
• Command + Option + Shift + D (Mac) | Control + Alt + Shift + D (Win) deselects all Unflagged photos.
• Command -click (Mac) | Control -click (Win) the Flags or Color Ratings attributes in the Library Filter bar selects images tagged with that filter (it actually selects them, it doesn't filter them).
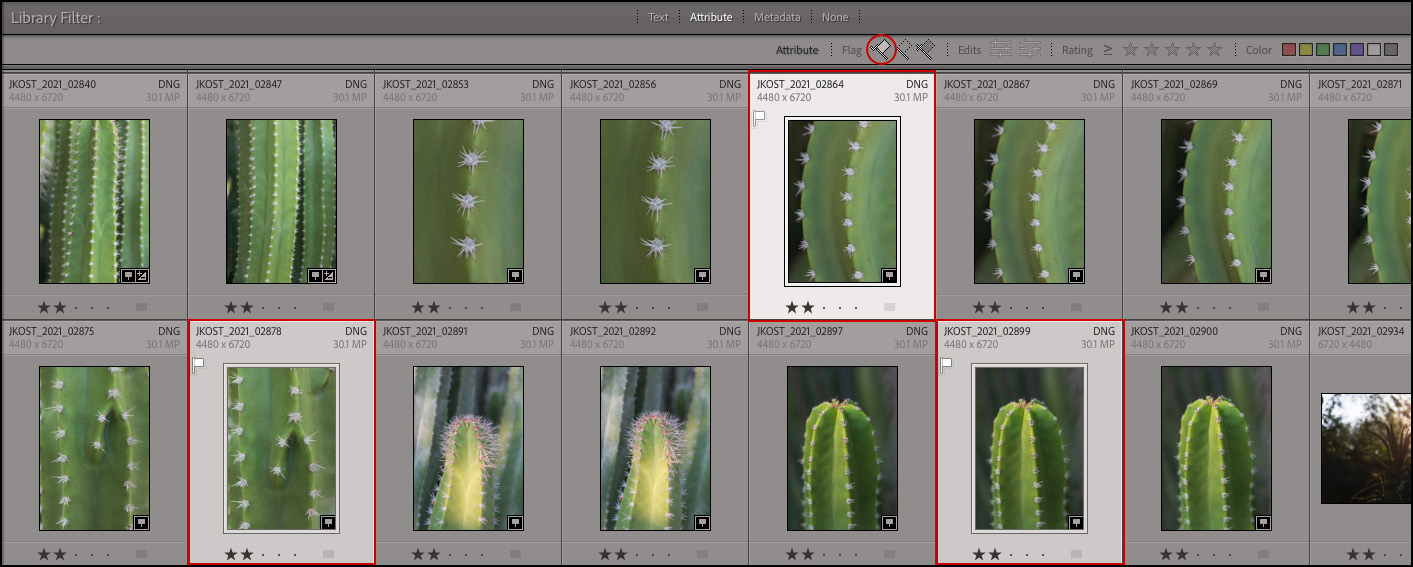
• Click -drag the image thumbnail (not the outer gray "slide mount" area) to move images between folders, add to collections etc..
Compare View — Tap the "C" key to move to Compare View.
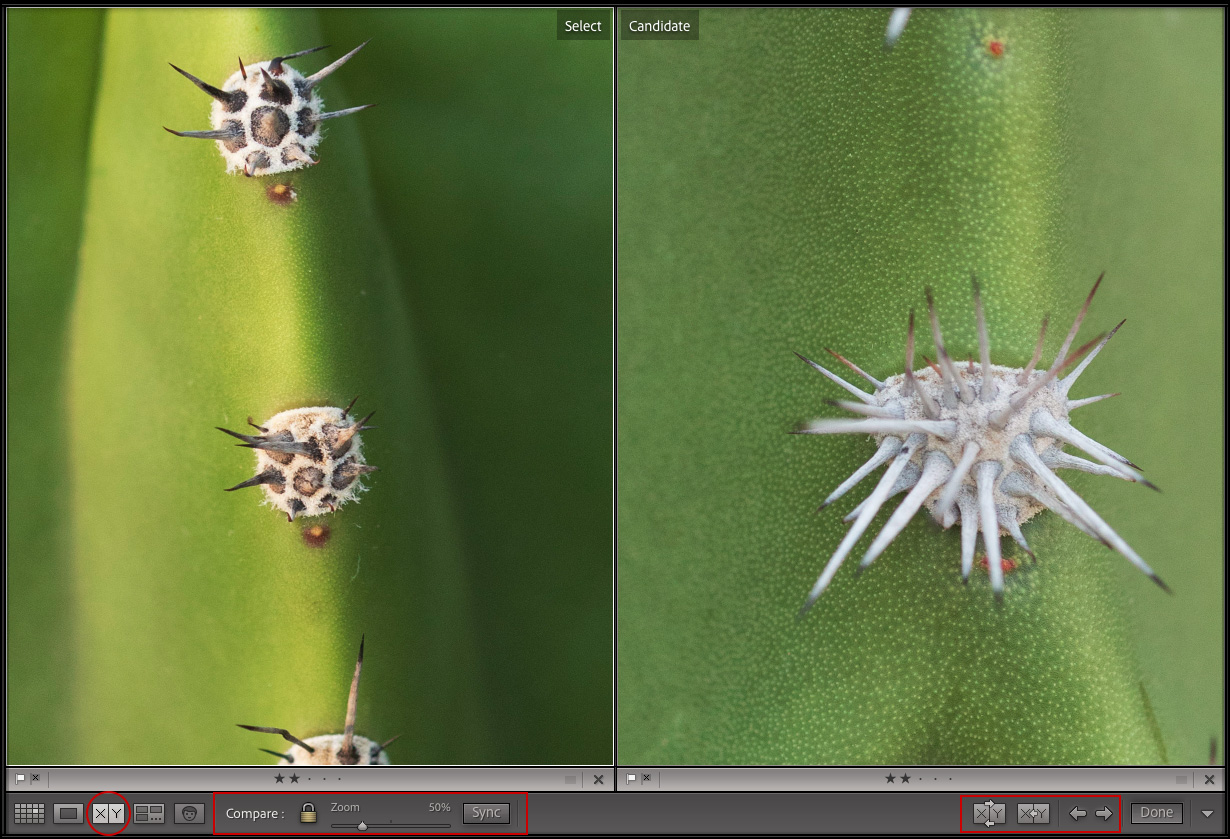
• Use the left and right arrow keys to move through the selected images.
• Use the down arrow to swap the Select and Candidate and the up arrow to promote the Select to Candidate. Or, use the icons in the tool bar.
• Holding down the Shift key unlocks the Link Focus option which, when zoomed in, allows the repositioning of each panel independently.
Survey View — Tap the "N" key to move to Survey View.
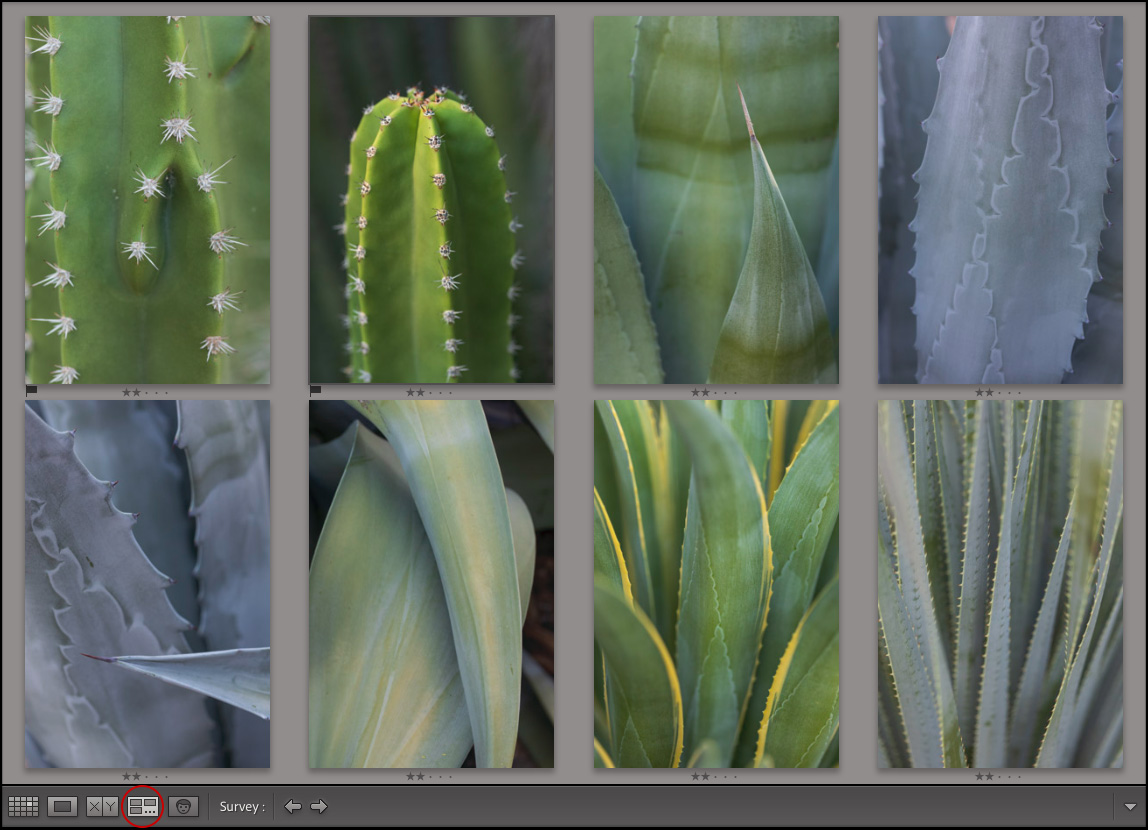
• Use the right/left/up/down arrow keys to move from one image to the next.
• Hover the cursor over an image and click the "X" to remove it from the selection or, tap the "/" (backslash) key to remove the active image (the one with the thin grey outline around it) from the selection.
People View — Tap the "O" key to move to People View.
• This video (Facial Recognition in Lightroom), demonstrates how to work with "Person/People" keywords.
• "S" expands or collapses a selected stack in People View. Long press expands until you let go, short press expands or contracts.
• Option (Mac) | Alt (Win) scrubbing over a stack will scroll through the images in the stack (previewing all of the faces inside the stack).
• Shift + O activates the text field to name when a single face is selected in the Unnamed section.
• Double click on an image in the Unnamed People are to see the entire photograph.
• With multiple images of the same person in the "Unnamed People" area selected, entering the name under one instance of the person will enter it for all selected images.
• If a face is undetected in an image, select the Draw Face Region tool (in the toolbar) and drag to define the face region.
• Dragging a photo from the "Unnamed People" area and dropping it on a named person will assign the name and add it to the named person.
• Names are automatically added to your keyword list as People keywords. When working with "Person/People" Keywords
Control -click (Mac) | Right -click (Win) on any keyword and choose "Put New Person Keywords Inside This Keyword" to set it as the default parent keyword for all new Person keywords. If you convert this parent keyword, all the children keywords will also be converted to Person keywords.
Control -click (Mac) | Right -click (Win) on a keyword and select "Edit Keyword Tag" to choose if a Person keyword should be included on Export. The Export dialog also has an option to Remove Person Info (to prevent the person keywords from being included on export).
• Hovering the cursor above the Identity Plate displays a white disclosure triangle. Click on the triangle to display the progress of background operations including indexing for face tagging. Turn on Face Detection to have Lightroom index the faces of people in all of your photos (once indexed, people view should load much faster). Note: Use Catalog Settings > Metadata, to enable auto detection of faces in all photos.
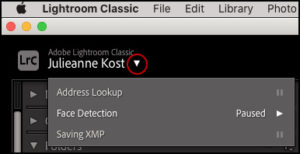
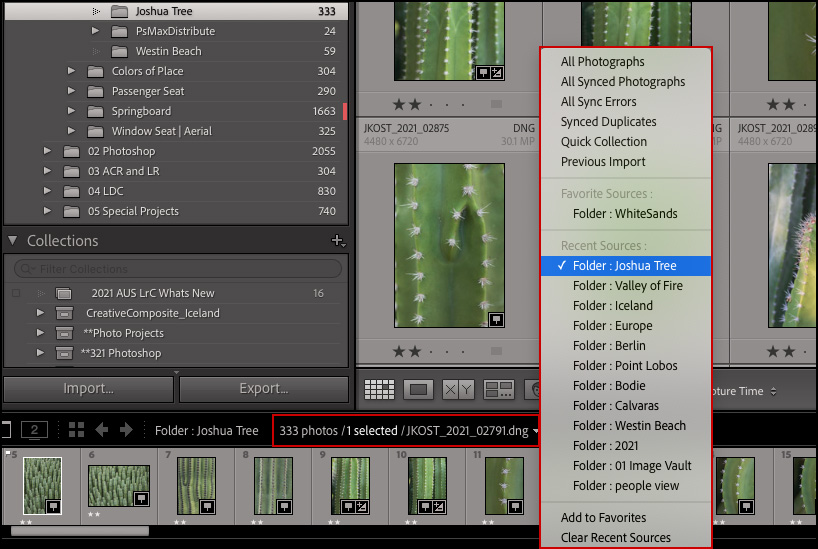
Selecting a different Folder/Collection/Recent Source — Click anywhere in the path of the currently selected image (in the black bar above the Filmstrip) to quickly navigate to recent sources. If you navigate to specific folders/collections often, choose Add as Favorite from the bottom of the drop-down so that it remains accessible as the Recent Sources area lists only the 12 most recent folders/collections visited.
For additional information on customizing view options, please see this post: Customizing View Options in Lightroom Classic
Source: https://jkost.com/blog/2022/01/selecting-and-navigating-images-in-grid-loupe-compare-survey-people-view-in-lightroom-classic.html
0 Response to "Easy Way to Select Next Photo in Lightroom Library View"
Post a Comment